Thank you!

Thank you for stopping by!!!!
Showing posts with label easy. Show all posts

Wednesday, April 9, 2014

DIY Stenciled Bunny Placemats


Here you have my cute stenciled bunny placemats.  Just in time for Easter. You should give these a try.  They are super easy!!!


  I found these colorful placemats at my local Dollar Store


To make these cute placements all you need: 
ready made placemats, acrylic paint,  a paper plate, a sponge brush, a stencil (I made the one you see by drawing a bunny free hand on thick stock paper.  You can find images on line. Also, a pair of scissors if you need to cut your stencil out and a pencil to draw your image! Don't forget to cover your surface with paper so it doesn't steep through to your counter.  


Draw and cut out your stencil.
Here's my cut out stencil!  Position your stencil on your placemat


Squeeze some paint onto your paper plate!  Dip your sponge brush into the paint.  Holding the stencil with one hand and lightly moving your brush up and down to paint in the stencil with you other hand.  You can tape your stencil down, but I didn't find it necessary!


Here you go a painted bunny!


Use different colors to paint your bunnies!  Super easy craft!!


While looking on the web for  ideas, I came a cross a blog,   Katie from View From the Fridge!  She inspire me to stencil something.  So I made some stenciled bunny placemats.  Thanks Katie!


Tuesday, December 31, 2013

Easy to Do-DIY Chalkboard Frame Craft


I've been wanting to make a chalkboard frame for months.  I see them around everywhere!  So a week before Christmas, I went over to Michael's Craft Store and picked up a few supplies for my chalkboard frame.
You will need: wire ribbon (about 40 inches)
scissors (not your good scissors)   
wood glue
paint (your choice of color) I used black or keep it natural 
sponge brush
chalkboard paint (your choice of color) I used black
frame 
wood (at least 1/2" larger then frame whole
tape measure (not shown)
chalk to write on board


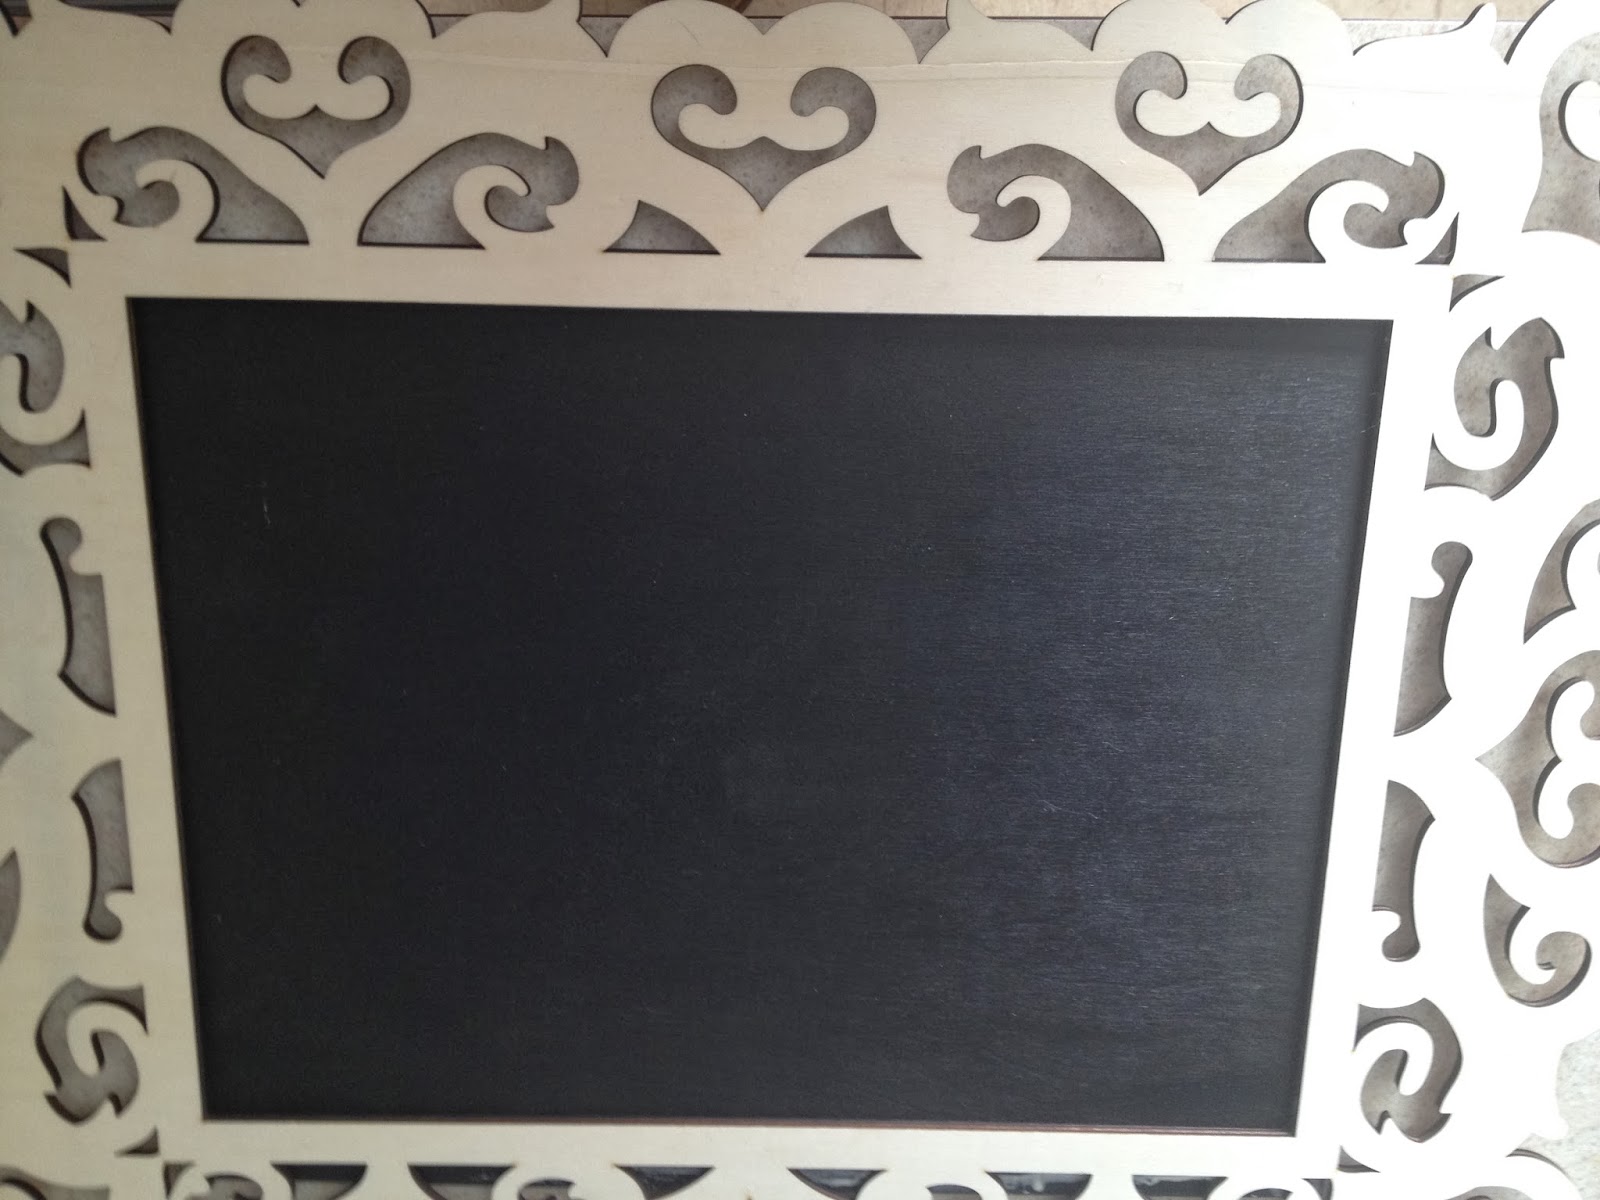
  First, I measured my frame and piece of wood.  Cut your piece of wood to fit the back. On the frame you see below it's 1/2" larger then the opening of the frame because I didn't want the board to show on the front size because of the holes in the frame. If you purchase your board at Lowe's, they will cut your board for free.  Michael's had the right size I needed, no cutting was necessary.


Next paint your board with Chalkboard Paint and let it dry 1 hour between coats, I did 3 coats.  The last coat, let dry over night (Follow manufacture's instructions).  Also, paint your frame with whatever color you desire.  I used Folk Art outdoor acrylic paint in black just because that is what I had.  In the examples below you will see that I left the frame natural, you could paint a clear on to it. Further down you will see other examples in different colors.


The next day, bead a line of wood glue around the edge of board (not to much or it will bleed to the front).


Front side-lay the frame over glued board. If you get glue on the right side, wipe immediately with a damp cloth.


Back Side- use books to weigh it down to help it dry overnight!


Here's a smaller frame in natural. I wanted the black to show on the front, so board was cut a little smaller then frame.


(Example in black)


(Example in white) The black frame is underneath it.


Take your ribbon and cut to desired length.  I cut mine 40".


Run ribbon through holes.


Tie knots on either side.


Make bows and tie again, so ribbon won't come undone.


Write your message!


Hang and enjoy!!!


I hope you give this craft a try.  It was fun and I just love my new chalkboard frame!!!  Please post pictures of your frames.  I would love to answer any questions you may have, so please ask!

May you and yours have a happy, prosperous, and fun filled year!  Happy New Year 2014!